// A Beginner’s Guide to All Things Trad Climbing
Trad is rad. It opens you up to hundreds of thousands of unbolted routes–including some of the best climbing in the world (El Cap anyone?). It’s also mentally engaging, as you must decide where along a route to place certain pieces of gear, instead of just finding the ideal “clipping stance” like you would on a sport climb. Beyond that, there are many techniques and movements only found on trad routes. Offwidth climbing is a prime example. Okay, enough about how great trad climbing is. You’re here to get started. Here’s how:
How to Start Trad Climbing
ONE: Learn to place gear.
Whether you learn from a mentor, indoor gym clinic, outdoor guiding service or via YouTube (the latter is not recommended as your sole guide to gear placements), you need to understand the basics of placing cams and stoppers both on route and at belay stances (no, there aren’t always bolted anchors…).
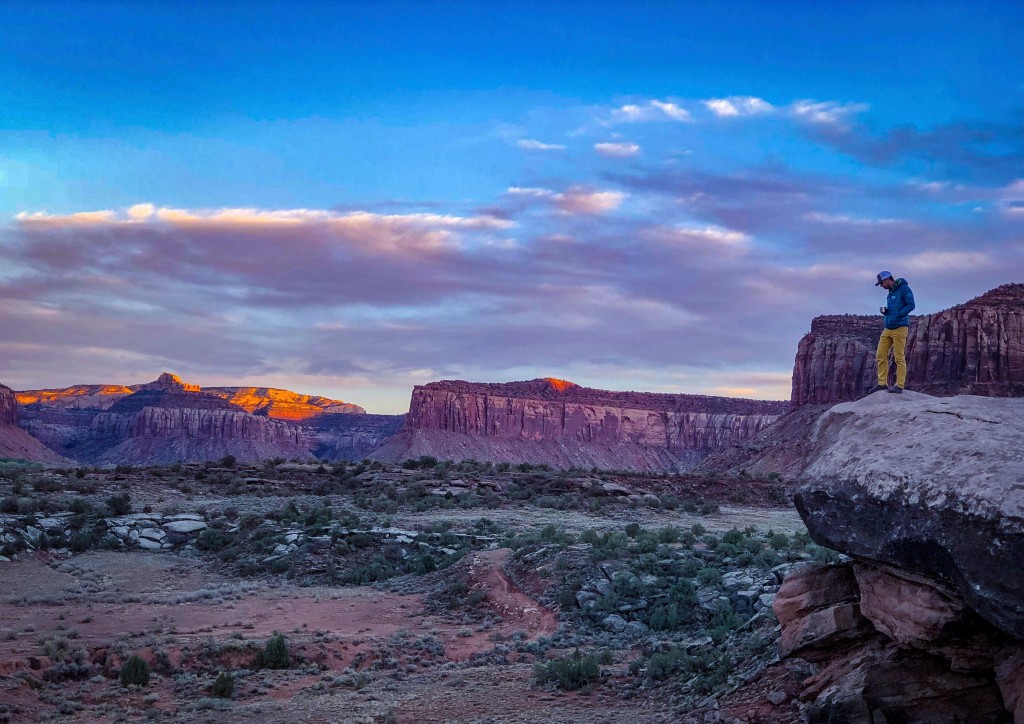
Once you understand the basics of what a good placement does and doesn’t look like, put in lots of mileage placing and cleaning gear. The goal is to be able to look at a crack and immediate know what size cam or stopper to place and then place it quickly. Climbing ‘splitter’ cracks in Indian Creek is ideal for dialing this in, as you’ll often place a half dozen cams of the same size in a row on it’s consistently-sized cracks.
TWO: Buy some gear.
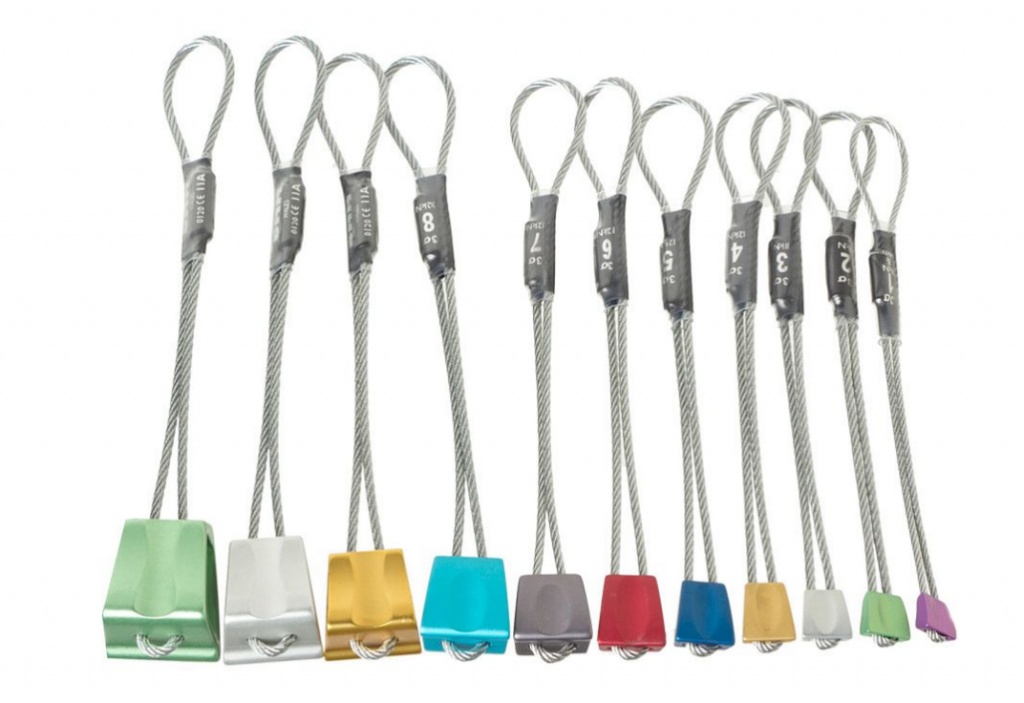
Doubles (two of each size) of finger (.3 Camelot) through fist-sized (number 3 Camelot) cams, a set of stoppers AND a nut tool is a good start. Continue to develop partnerships with other trad climbers, so you can combine racks for cracks that require loads of only one size cam.
THREE: Choose a size.
Most entry level crack climbers will go straight for grade validation. Who can blame them? Those with small hands will tick their first double digit sends on finger or thin hands cracks. These routes cater to the type of face-climby skills one can readily train in the gym. Those with bigger hands will revel in thuggy cupped hands and fist cracks. Committed climbers will chose sizes that are hardest for their physical dimensions. Tackle one size at a time to diversify your skill set, that is if you dream of someday freeing El Cap or multi-pitch routes in other locations with varying crack sizes.
FOUR: Stop Laybacking.
Laybacking is the face climber’s (ahem, sport climber’s…) way of avoiding learn to jam. While often effective on toprope, laybacking robs the leader of visual pro placement and has led to more than one serious injury; it’s hard to know if you’ve placed a piece well if you can’t see it. Laybacking is also the best way to instantly brand yourself as the crag gumby. Not good.
FIVE: Get the right shoes.
After reigning supreme in the old-timey days, non-compression fit, flat-soled, looks-like-a-cross-between-a-hiking-boot-and-converse climbing shoes disappeared from the market. Today, shoes like the La Sportiva TC Pro offer the crack climber a high-performance, all-around shoe for everything from fingers to offwidth. And yes, you can free the Dawn Wall in them–if you climb 5.14d that is. Save your aggressively down-turned slippers for the gym, steep sport and—when you graduate to techy fingertip cracks—the occasional 5.13 finger crack. Not a fan of high tops? Try a comfy all-around shoe like the Mythos—it’s also at a friendlier price point than the TC Pro.
SIX: Start Training.
To train specifically for hands, fists, offwidth etc., you’ll need to find a gym with either set cracks or crack volumes, or, if you live near lots of outdoor cracks, spend as much time as possible on them before or after work and on the weekends. If neither of those are an option, you can build a wooden crack machine in your garage or basement.
Off the wall, you should focus on core. Crack climbing engages the whole body, leaning heavily on an unbroken connection between the jammed lower body part (foot, calf, hip or knee) and jammed upper body part (fingers, hands, fists, arm, head, etc.). Since climbing is not a rote set of robotic moves, keep mixing them up: Hanging core, TRX core, floor core with an emphasis on planks and versions of leg lifts/v-ups…you get the idea.
Related: Offwidth specific training
And for extra credit: Anaerobic threshold and interval training. Years ago, one particularly diabolical trainer put me on a circuit of one indoor pitch, immediately followed by a set of kettlebell swings, pushups and jump squats. These were repeated with a one-minute rest between sets. While I’m no training expert, I suggest that some nearly-puke-inducing variation on this theme will help at the very least with upping your tolerance for suffering (quite necessary for offwidth cracks). The above regimen put me in good stead for a Yosemite visit, where the climbing seemed like a restful vacation after a few weeks of the above.
Desert Tower Tips
- ALWAYS wear a helmet on desert climbs. Expect loose rock and parties climbing above (and knocking rocks down in the process…).
- Use caution on the approaches to protect the fragile cryptobiotic soil. Stay on the climbers’ trails, and keep on bedrock whenever possible.
Pete Takeda is a writer, climber and mountaineer based in Boulder, CO. Pete’s pretty neat.
Featured Image Credit: Clint Dillard


